Free Ground Shipping on Orders Over $49 Details & Exclusions Excludes Curb Side Delivery (LTL). Lower 48 United States Only.
Jun 22, 2014
Guide to Torch Floor Lamp Assembly
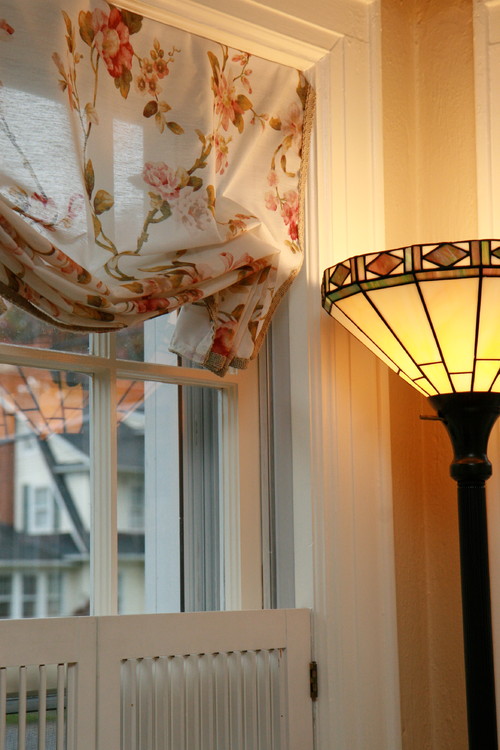
Torch floor lamps, otherwise called torchieres, are perfect interior lighting pieces for rooms that do not have any ceiling lights. Torchieres have become popular because, unlike traditional floor lamps that project light downwards, torch lamps project their light upwards. The bowl-like shaped shade provides upward lighting which bounces off from the ceiling and reflects the light back out to the entire room, thus providing general illumination to the space. Torch lamps are also versatile; their slim structure allows them to fit even in very small spaces and makes it easy for you to move them to any room whenever you feel like redecorating your home. There are various designs available in the market, from simple to very ornate ones, so you will definitely find a torch lamp that will blend seamlessly with your interior décor.
Usually, your torchiere will come with an assembly guide with steps outlined for putting together all the parts of your lamp. However, if this is not available, the steps below are universal and may apply to most torch lamps.
Basic Torch Lamp Assembly

Step #1:
Before you begin to assemble, spread all the parts of your torch lamp on a flat clean surface. There should be four tubes, one small threaded ring, one shade, socket assembly and the lamp base. Check each part for defects, inspect the wiring for cuts or exposed copper. If there are no defects, you may continue assembling.
Step #2:
Start by separating the four tubes. These will comprise the body of your torchiere. Each tube has one end threaded on the outside and the opposite end threaded on the inside. Connect each tube with the outside thread facing up.
Step #3:
Screw the socket assembly and turn it clockwise into the first tube until this is fastened.
Step #4:
Next, insert the cord from the socket assembly into the opposite end of the tube.
Step #5:
Connect the rest of the three tubes one at a time. Screwing each tube clockwise into the previous tube. Then insert the cord into each tube as you go.
Step #6:
Screw the assembled tubes into the base until they are securely fastened to it, then insert the cord into the bottom of the base.
Step #7:
Install the shade into the top of the socket assembly. It will rest centered on top.
Step #8:
Slide the ring that is provided with your torch lamp onto the top of the socket assembly. Turn the ring clockwise until tight.
Step #9:
Screw in the light bulb into the socket assembly. Plug the lamp and test the lighting of your new torch lamp.