Free Ground Shipping on Orders Over $49 Details & Exclusions Excludes Curb Side Delivery (LTL). Lower 48 United States Only.
Jan 14, 2014
How to Install a Ceiling Light Fixture in 10 Easy Steps
Installing an indoor ceiling light fixture may seem difficult, but you need not call an expert to do the job. You can do this home improvement project yourself and transform a drab room into a stunning one with a new ceiling light fixture. Here’s an easy yet comprehensive guide on how to mount that new fixture safely following professional installation techniques.
Step # 1
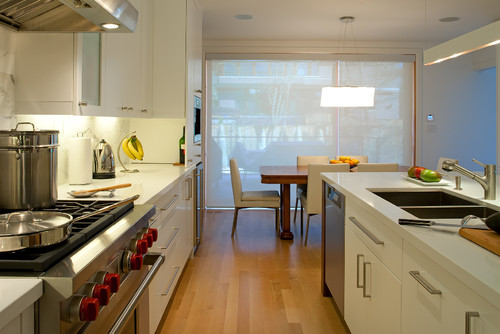
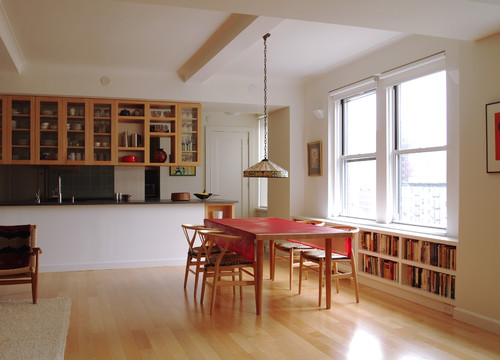
Decide where to position the ceiling fixture. If you are installing the light fixture in a dining room, make sure that this is placed directly above the table. Drill a small hole into the drywall where the light is to be mounted. Stick a piece of wire through this hole extending into the attic.
Step # 2
Go to the attic and look for the wire that you have inserted into the drywall. You will need to determine the overall vicinity of the wire as it may not be easily seen and you may have to move the insulation away from the area. Once you have located the wire, check if there are any obstructions, such as a ceiling joist. If there is, you will have to choose another spot to mount the fixture.
Step # 3
Return to where you are installing the ceiling light and on the spot where it will be placed, trace the outside of the electrical box of the light fixture. Afterwards, cut a hole in the drywall with the use of a drywall saw.
Step # 4
Go back to the attic and mount the electrical box using slide brackets. Attach these into the ceiling joists.
Step # 5
Still inside the attic, move some insulation within the general vicinity of the inside wall. You should be able to locate a 2×4 up in the attic which is the top plate of the wall. Drill a hole through the top plate near the spot where you want the switch to be placed.
Step # 6
For the power fixture, run a 14-2 cable from the junction box in the attic to the ceiling fixture. Then run another cable from the ceiling fixture to the hole on the top plate and down the inside of the wall. Turn off the power for the circuit that you will be tapping into. Connect the black and white wires from the new cable to the black and white wires in the junction box. Remember – black to black and white to white.
Step # 7
Go back where the ceiling light is to be installed. With a plastic remolding electrical box which can be purchased in any home improvement store, trace the outside of the box on the chosen location. Using a drywall saw, cut a hole and find the cable that you inserted down the wall from the attic within this hole. Pull this cable out of the wall and leave about eight inches hanging out from the wall. Feed the cable through the top of the electrical box and put the box into the opening. Secure the box on the wall by turning the screws on the electrical box.
Step # 8
For the electrical box in the ceiling, there will be two cables – the feed or hot cable and the switch leg leading to the switch. Peel the cables and with a wire nut, connect the black wire from the feed cable to the white wire of the switch leg cable. Leave six inches of the white wire from the feed cable in the ceiling box along with the switch cable’s black wire.
Step # 9
Skin the cable inside the switch box and put a black strip of tape on the white wire to indicate that this is a hot wire. Then attach both the black and white wires to a single pole light switch and install this in the electrical box.
Step # 10
Install the mounting hardware and the new light fixture to the ceiling box. Turn the power back on, and then switch on your newly mounted ceiling light.
Things to Remember
To ensure your safety, don’t forget to take the following precautionary measures:
- Before you start with this project, turn off the power to your electrical source.
- When drilling into the top plate, you need to check your measurements and make sure these are accurate so your hole fits well in the wall cavity of your light switch.
- Wear safety glasses.
- Avoid getting insulation on your bare skin.