Free Ground Shipping on Orders Over $49 Details & Exclusions Excludes Curb Side Delivery (LTL). Lower 48 United States Only.
Apr 27, 2014
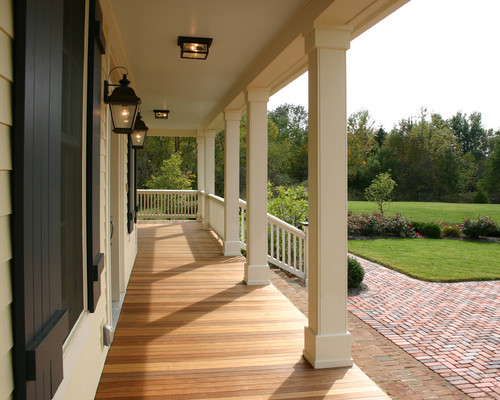
How to Install Outdoor Flush Mount Lights

Flush mount lighting is the most common type of exterior lighting because, unlike pendant lights or chandeliers, flush mounts don’t pose any danger during windy days. Flush mount light fixtures are securely set against the wall or ceiling, not hanging down from a chain or rod, so they are more stable compared to other dangling light fixtures.
Installing outdoor light fixtures involves the same steps as installing interior lighting. However, it is recommended to wrap the connections with electric tape so that there is additional protection against the elements. Make sure that you are installing light fixtures that are specifically made for outdoor use which are made of weather proof materials.
Important Things to Remember When Installing Outdoor Lights
1. Check the local codes for outdoor lighting. Make sure that you follow these code requirements.
2. For installations that require underground wiring, always use type UF cable. The UF indicates that there should be a fuse or breaker inside the house from the beginning of the underground wiring installation.
3. For all outdoor lighting projects, only use materials that have an Underwriter’s Laboratory (UL) approval.
4. Cable to be used for underground installations should contain a grounding conductor. Outdoor fixtures should be grounded for safety reasons.
5. Use a conduit to protect the cable when it is exposed above the ground and also when bends are made below the ground.
6. Check the local codes thoroughly, as some may require you to cover the entire cable with conduit.
7. There are several local codes now that require outdoor circuits to be protected with Ground Fault Interrupters or GFIs. There are two basic types of GFIs – one is designed for installation in a circuit breaker box while the other is designed to fit into outlet boxes. Check your local code to know which one you should use.
8. The ideal depth when burying any underground cable is at least 24 inches, as these are less likely to be hit by tools commonly used around the yard such as spading forks.
9. Always use weather proof equipment for all outside wiring installation.
10. Make sure to switch off the electrical power at the main switch before beginning any underground wiring tie-in.
Steps in Installing Outdoor Flush Mount Lights
1. Turn off the power to the existing external light fixture at the house fuse box or circuit breaker.
2. Remove the old light fixture by taking out the screws that secure the fixture to the electrical box. Disconnect the wires behind the light fixture, untwisting the wire nuts that hold them together. Carefully pull the fixture away, exposing a white wire, a black wire, and a bare grounding wire.
3. Raise the mounting bracket from the new flush mount up to the electrical box. Secure the fixture using the screws provided with the assembly.
4. Wrap the bare ground wire from the electrical box around the green ground screw on the mounting bracket then tighten the screw.
5. Hold the two bare wire ends next to each other then twist the wire nut over both to connect the black wire from the electrical box to the black wire from the flush mount fixture. Repeat this step to connect the white wires from the electrical box and the light fixture.
6. Wrap electrical tape around each of the two connections to completely seal them.
7. Tuck the wiring into the electrical box as you mount the fixture against the bracket. The entire base of the flush mount should sit flat against the surface and cover the box completely as well as the area around it. Fasten the light onto the fixture using the screws that came with it.
8. Switch on the electricity at the fuse box or circuit breaker.