Free Ground Shipping on Orders Over $49 Details & Exclusions Excludes Curb Side Delivery (LTL). Lower 48 United States Only.
May 18, 2014
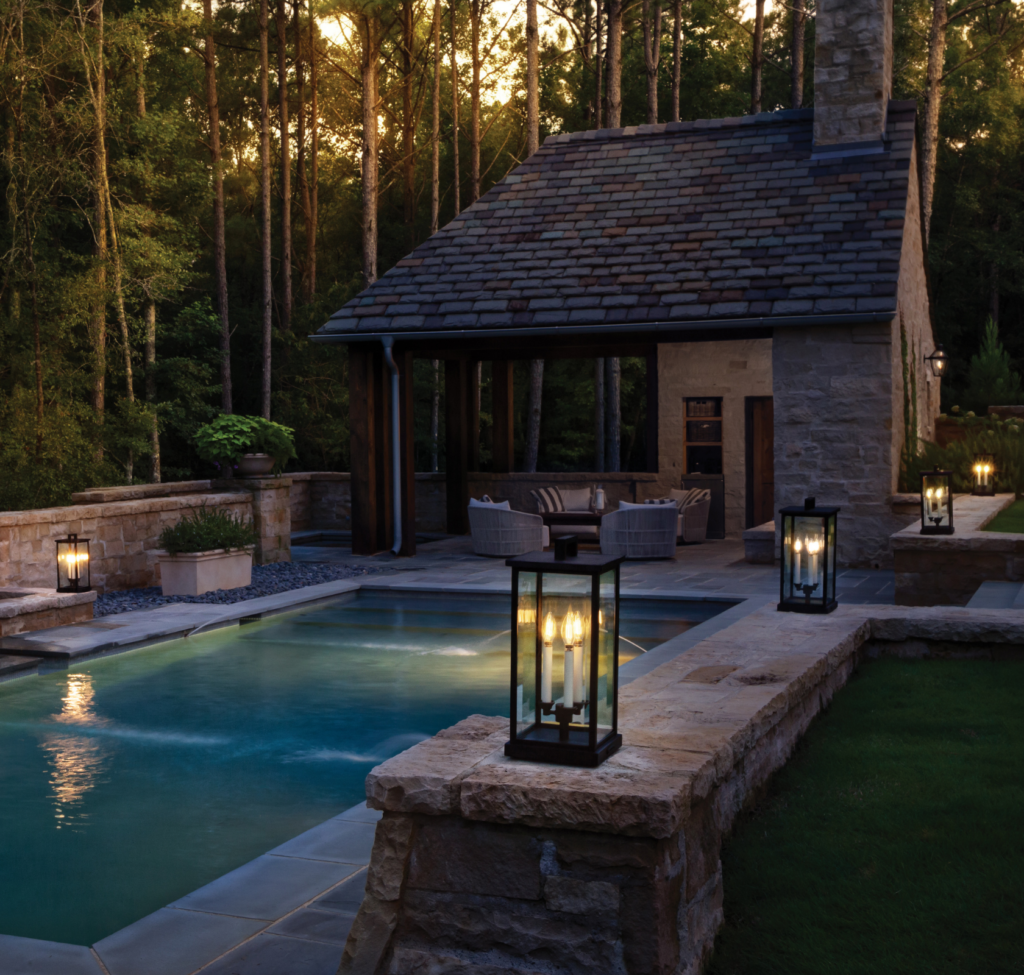
How to Install Outdoor Wall Lights
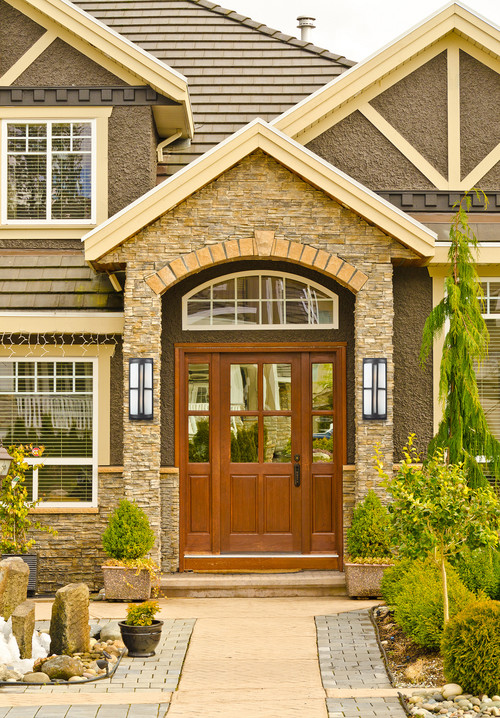
An outdoor wall light is a significant feature in any home, allowing visibility outside for leisure activities at night while also enhancing your home’s security. Carefully selected and properly installed exterior lighting can do much to create a great first impression of your home. And good thing is, installing outdoor wall light fixtures is something you yourself can do with a few basic tools. Here are the steps to guide you in installing your exterior wall lighting.
Step 1: Prepare the Location
Using a marker, mark the spot on the wall where the wall light fixture will be installed. For the wiring, it will be best to have a qualified electrician to do the wiring to ensure that this is done properly and safely.
Step 2: Retrieve the Circuit Wires
Switch off the power supply at the circuit box for safety reasons. Reach inside the wall electrical box. Look for the circuit wires, which you will find in a cluster consisting of black, white, and copper wires. Separate these wires then remove some of the plastic insulation from the black and white wires using wire strippers. Take off about half an inch of the insulation.
Step 3: Connect the Wires
Hold the new light fixture close to the wall electrical box. Connect the wires accordingly, white with white then black with black. Next, connect the green wire from the wall light fixture with the copper wire from the wall box. Twist together both ends of each pair of wires, using wire connectors to cover the connection point for each pair.
Step 4: Mount the Wall Light Fixture
Fasten a waterproof gasket on the new light fixture. Put the connected wires back into the wall electrical box. If the fixture has a mounting plate, attach this to the wall box using screws. Get the new light fixture. Hold its base against the wall matching the screw holes in the fixture with those in the mounting plate or on the wall. With a screwdriver, fasten the screws firmly through the holes.
Step 5: Install the Gasket and Light Bulb
It is best to use a weatherproof gasket for your outdoor wall lights to help protect the lights from the elements and add to the durability of the lights. Mount the gasket and fit in the light bulb. There is a wide variety of light bulbs available in the market to meet your needs. Choose a bulb that will help improve the functionality of your outdoor lighting fixtures. High intensity discharge bulbs are widely used for outdoor lighting. When inserting the light bulb, use a pair of gloves or soft cloth. A lot of bulbs designed for outdoor use could be quite sensitive and may easily get damaged by fingerprints or dirt on the glass.
Step 6: Turn the Power Back On
Switch the power back on from the circuit box. Test your new outdoor wall lighting fixture.