Free Ground Shipping on Orders Over $49 Details & Exclusions Excludes Curb Side Delivery (LTL). Lower 48 United States Only.
Oct 29, 2014
Step-By-Step Flood Light Installation Guide
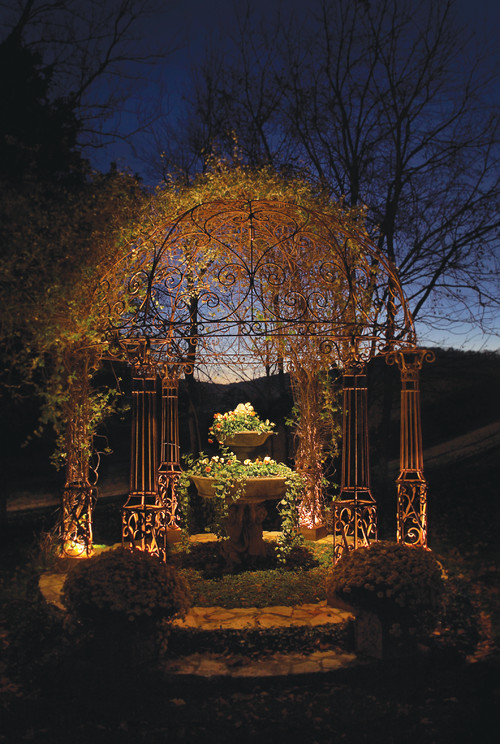
Aside from providing illumination to your deck or patio for extended nighttime activities, installing outdoor lighting in the form of flood lights offer added security to your home. They also add value to your home, giving it an impressive curb appeal after the sun has set. Here is a quick and easy detailed guide to help you install your outdoor flood lights by yourself.
Step #1: Turn the Power Off
The first thing you need to do whenever you are doing any type of electrical work is to turn the power off at the circuit breaker or fuse box for safety purposes. To keep anyone from turning the power back on, post a note that there is work currently being done. Test the circuit to make sure that there is no power.
Step #2: Decide on the Location
Decide on where you want to install the flood lights. You can mount these outdoor lights to your garage, the outside of your home overlooking a porch or patio, or along a fence post provide illumination to your yard. Once you have determined the location for your flood lights, cut a hole in that position. Make sure that the hole is large enough to place the electrical box.
Step #3: Connect to Power
You will also need to decide on where you want to position the light switch. Once you have selected the spot, cut a hole in the wall. Fish the wire into the electrical switch box. There are two options to get power to your switch. You can either run a wire to the nearest plug outlet, or wire directly to a breaker if you will be running the light on its own circuit.
To connect to the plug outlet, pull out the outlet from the electrical box. Unscrew the cover and the outlet then slide it out. Next, fish the new wire into the wall until you reach the outlet. Connect the black wire to the black on the outlet. Do the same with the white wire. Connect the ground wire then reinstall the plug outlet.
For the second option, run the wire through the breaker box. Thread the wire into the access area of the breaker then connect the black wire into the breaker’s set screw. Fasten the white and green wires to the metal bar in the breaker then tighten.

Step #4: Install the Flood Lights
Once all the wire connections have been made in the house, run the wire out to where you are installing flood lights. Insert the wire through the electrical box and strip the wire at least one inch back. Twist the matching wires together from the light to the power supply. Fasten the flood light onto the electrical box using the supplied hardware.
Step #5: Connect the Light Switch
Screw the black wire from the power source onto the bottom of the light switch. The black wire from the flood lights will go onto the top screw. Connect the bare copper wire to the green screw then set the light switch into the box. Fasten this with the screws provided in your light kit then attach the face plate.