Free Ground Shipping on Orders Over $49 Details & Exclusions Excludes Curb Side Delivery (LTL). Lower 48 United States Only.
Jan 8, 2015
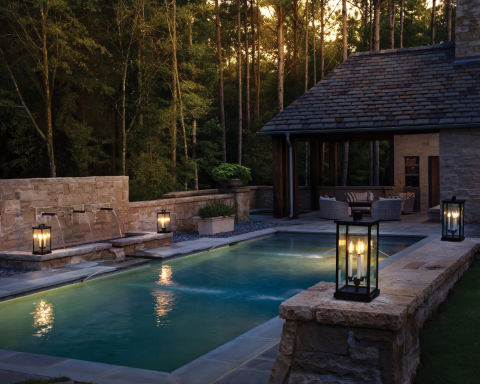
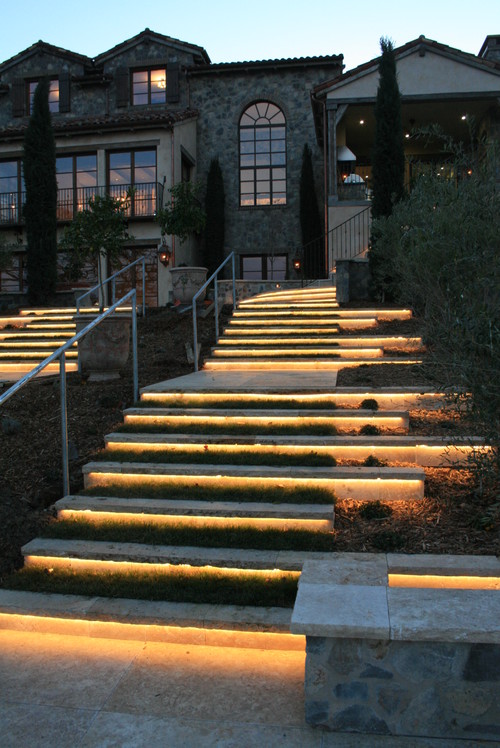
5-Step Method to Converting to Outdoor LED Lighting
There are several practical benefits from converting to outdoor LED lighting, aside from functional and aesthetic advantages. LEDs require little ongoing maintenance. LED light output is consistent throughout its lifespan which averages 50,000 hours. So, an LED lamp running eight hours every night can burn up to 17 years, given ideal conditions. Moreover, LEDs only consume one-tenth of the energy used by outdoor halogen lamps. Considering the savings from energy consumption and maintenance, the cost of converting to an LED outdoor light system can be recouped within just two years.
Installing LED outdoor lights does not generally require a professional electrician. All you need is some patience and the right tools, and you are set to install your outdoor lighting all by yourself. Before you get started, here are a few tips to keep in mind:
Put Your Safety First
When working on an outdoor electrical project such as this, always remember that your safety comes first. Always double check and make sure that the power is turned off before you start working. Never work under dangerous conditions. If it starts to rain, for instance, you will have to postpone the job.
Create a Layout Plan
To achieve best results, work from a well thought of plan. Sketch a diagram of the area then plan out everything before you start your outdoor lighting installation project. Determine where to position each component of the LED outdoor lighting. This step will help avoid making mistakes during the job.
Consider the Number of Lights for the Circuits
Decide how many lights will be placed on each circuit. Take note that the farther away light is from the power source, the less power it has to work with. Avoid having too many lights on one circuit, as this can negatively affect the level of brightness of your outdoor lighting.
Choose the Appropriate Wire Gauge
Consider what type of wire to use. There are several different types of electrical wires available, make sure to check the recommended gauge. Having the right gauge will ensure that there enough power is delivered to all of your lights. This will also ensure that you do not overload the circuit.
Now, you are all set to start with your outdoor LED lighting project. Here are the steps:

Step 1: Plan Your Design
Before you begin installing the LED outdoor lights, determine exactly where these should be placed. Walk around your yard and place a mark where each light will be installed. Use a tape measure to make sure that each light is spaced out evenly. The first light should be at least ten feet away from the transformer. The succeeding lights should be placed every six feet after this.
Step 2: Position the Cables
Place the electrical cable along where the LED lights are positioned. Be sure the cable is laid all the way up to the point where it will attach to the transfer. At this point, leave the cable lying loose on the ground.
Step 3: Dig the Trench
Move the lights back a little to allow room to dig a trench. With a flat blade shovel, fold back the lawn along your walkway approximately twelve inches wide and three inches deep to allow plenty of room to lay down the cable wire. If there’s sod, it will be helpful to use concrete blocks or anything heavy to prevent this from flipping back into the trench.
Step 4: Lay the Wire
Place the wire into the trench, leaving some slack in the wire. Put the yard sod or soil back, covering the wire but leaving a small section sticking out so you can connect this to the LED lights. You can do this by making a small hole so you can pull the wire through while at the same time keeping most of it covered and out of the way of pedestrians.
Step 5: Wiring
Wiring for different brands of LED lights may vary, so be sure to read the directions provided by the manufacturer and follow the instructions carefully. Once all the fixtures are wired, stake the LED lights into the ground. Make sure that the connectors are at least two inches under the ground. The stakes should be even and flush. Now, place the transformer directly on your home or to a post near your home. Strip the cables closest to the transformer then insert the wires into the terminals inside the transformer. The kit you purchased will have everything color coded, so it will be easy for you to determine what needs to go where.
And you’re done! You can now switch the lights back on and test your outdoor LED system.