Free Ground Shipping on Orders Over $49 Details & Exclusions Excludes Curb Side Delivery (LTL). Lower 48 United States Only.
Jun 1, 2014
How to Install Picture Lights

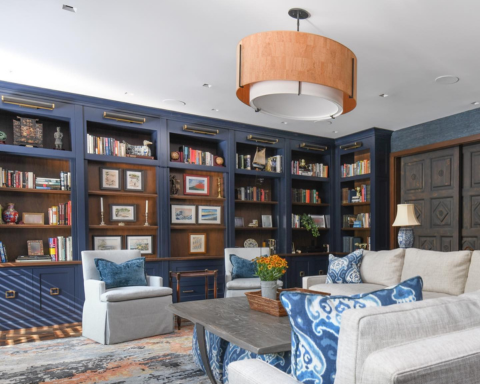
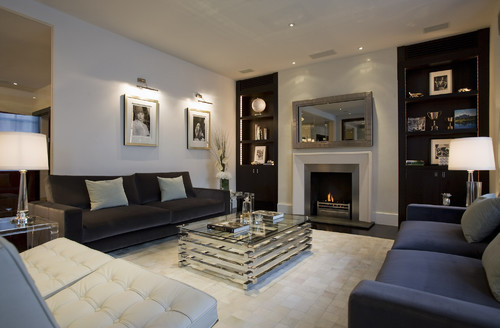
Investing in a beautiful piece of artwork is a great way to complete the look of a room, but it doesn’t end there. To highlight your valued art piece and make it stand out in the room, you need to have the right type of lighting installed so that your guests are drawn towards to your framed piece.
The general rule of thumb when it comes to illuminating wall art is that it should be lit with three times more light as the rest of the wall. This allows the art to stand out. If the lighting used on the wall art merely provides the same amount of light as the other areas within the room, then the purpose of lighting up the wall art is lost. On the other hand, too much light can create a glare on the art and may also cause the painting to fade or become discolored.
Installing a picture light is quite easy and can be done without hiring an expert. Here is a do-it-yourself guide to help you mount picture lights for your valued wall art pieces in just five easy steps.
Steps in installing picture lights:
Step #1:
Turn off the electricity supply at the main circuit box before you commence with the installation of the picture light. Check and make sure that the fuse is withdrawn or the circuit breaker is switched off while the project is ongoing.
Step #2:
Before you remove the fixing bracket, take note of the position of each set of the wires. Where the ring or loop circuit is positioned, there is a fourth set of wires which are usually red and are not connected to the L, N, or E of the fitting. This circuit needs to be kept together in the fourth terminal of the connection block and isolated from the fitting away from the other wires. The ring or loop will stay live, unless it is isolated at the mains or circuit breaker regardless of where the wall switch is positioned.
Step #3:
Remove the fixing bracket from the wall back then attach this to the wall using the screws and wall plugs provided in the kit. Be careful and avoid damaging any hidden wiring and pipes.
Step #4:
Once this is completed, make sure that there are no bare or loose strands of wire exposed. Cover all visible areas of the connection block with 2 layers of insulation tape.
Step #5:
Mount the picture light onto the fixing bracket by refitting the screws into the holes in the wall back and fastening the screws to secure this.
Step #6:
Replace the fuse or circuit breaker and switch it back on. Your picture light is now ready for use.