Free Ground Shipping on Orders Over $49 Details & Exclusions Excludes Curb Side Delivery (LTL). Lower 48 United States Only.
Feb 14, 2014
How to Replace Your Old Lighting Fixture with a Flush Mount
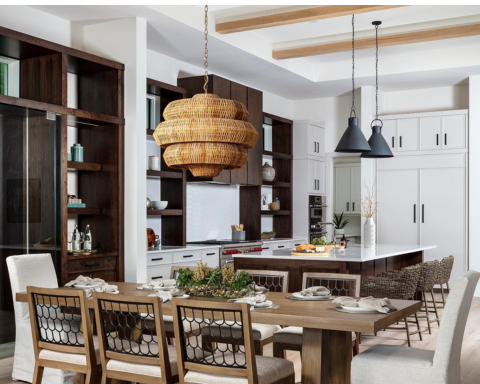
When redecorating, consider changing your light fixtures. There are various lighting fixtures now with more fresh, creative designs. You will find that having beautiful decorative pieces for lighting will not only bring illumination to your home, but will also make it more interesting and appealing to the eyes. One good choice for lighting fixtures is a flush mount ceiling light which is great for ambient lighting, although it may also be used as a main light source. If you intend to use your flush mount as your main lighting, it is recommended that you use LED or halogen bulbs.
![]()
Replacing your current light fixture at home can be relatively inexpensive with flush mount lights compared to chandeliers and ceiling pendants, although they come in several elegant styles as well. Plain or fancy, flush mounts can certainly add charm and sophistication into any room and are great for homes with low ceiling. Unlike other ceiling lights, flush mounts do not have a stem or rod. You can mount them directly to the ceiling, so there is a spacious clean visual space.
You don’t have to be an expert to install a flush mount light. Here are a few simple steps to guide you into successfully completing this home improvement activity all by yourself. But first, a few reminders:
Reminder #1: Make sure that you turn the power off at the fixture.
Turn on the light that is attached to the current ceiling light fixture then turn the power off at the circuit breaker box. Once you’ve done this, the light should turn off. To be sure that the power to this fixture is indeed off, use a voltage tester.
Reminder #2: Measure the depth of the globe from the ceiling.
If you will be replacing the old globe with a new one but will be using the old threaded tube, you need to ensure that the new globe fits the current existing tube. You can do this by measuring the depth of the tube and the globe. The tube’s length should allow the nut to be screwed onto the tube once the new globe is in place.
Now, here are the steps in installing a flush mount light fixture:
Step 1: Read and understand all the installation instructions that are included with your new lighting fixture. Be sure to follow these.
Step 2: Unscrew the shade from your old light fixture.
Step 3: Remove the light bulbs that are currently attached on the existing light fixture.
Step 4: Remove the cap nuts or bolts.
Step 5: Pull the light down then expose the wires.
Step 6: First disconnect the hot wire (black) first. Put the wirenut back on the wire then tuck it up out of the way.
Step 7: Next, disconnect the neutral wire (white). Put the wirenut back on the wire then tuck it up out of the way.
Step 8: Lastly, disconnect the ground wire (bare copper).
Step 9: Get the new flush mount light fixture. Connect the ground wires.
Step 10: Connect the neutral wires (white to white).
Step 11: Connect the hot wires (black to black).
Step 12: Install the light using the cap nuts or bolts that are included in the package.
Step 13: Install the nipple for the shade.
Step 14: Install the lamps. It is better to use compact fluorescent or LED lights instead of regular incandescent lamps for energy efficiency.
Step 15: Install the shade.
Step 16: Turn on the circuit and test the light.